If you like Atole, I invite you to join my Patreon membership here, so I can keep on sharing beautiful food and stories with you every week (plus some extras!).
In my about page, I talk about how connecting with people through food on social media —as a result of the pandemic— inspired me to write this newsletter, and even though this came as a surprise to me (a very fortunate one), it’s not an isolated fact; many versions of it have been repeating themselves throughout history. Let me explain myself better…
When a dear aunt of mine took on the noble task of digitally capturing my grandmother’s hand-written recipes from her school-type Scribe notebooks, to share them with the rest of the family, I noticed something apparently not too relevant but that I thought had a profound significance; many of the dishes were named after the friend or relative who passed them on to her: “chileajo de la Chela”, “cuernitos de Marina”, “chiles anchos Tere”, “espagueti a la boloñesa de Rosi”, “tamal de cazuela de Adela”, “pollo de la tía Loris”, “pie de Licha”, “rollo de carne de Chabela”, and so on.
It seems to me that wherever you go, there has always existed some kind of an unspoken sisterhood of home cooks (of which more men are taking part of), who’s members “pop out of the ground” like Matsutake mushrooms on devastated woodlands, whenever cooking knowledge is most needed. I experienced that though Instagram this quarantine (cause times have changed a lot since Scribe notebooks).
Little by little —while safe distancing— I started to become a part of a spontaneously growing network of home cooks. Some were already acquaintances of mine, long time friends, or relatives, but that I didn’t necessarily know they enjoyed cooking (or they just discovered they did); others were Instagram-made friends I already followed because of food but became much closer since then (and also connected with some of their friends); others were new friends I made because of my #cocinadecuarentena posts, and there are more that I keep meeting each day (and hope it stays that way).
These croissants are dedicated to them: we all know who we are, it doesn’t matter if we actually cooked the recipe we exchanged or just said we would and haven’t gotten to it (I know we will, eventually), or we’ve just liked our foods, exchanged a few emojis, comments, cheers, or started following each other: thanks for being around, you have not only saved my quarantine, but you’ve made my after-Covid life look brighter.
WHAT DO YOU DO WHEN YOUR WORLD STARTS TO FALL APART? I go for a walk and if I’m really lucky, I find mushrooms. Mushrooms pull me back into my senses, not just —like flowers— through they’re riotous colors and smells but because the pop unexpectedly, reminding me of the good fortune of just being there. Then I know there are still pleasures amidst the terrors of indeterminacy.
Anna Lowenhaupt Tsing
(The Mushroom at the End of the World, On the Possibility of Life in Capitalist Ruins)
Step one: fight-off intimidation
The Croissant is one of the most cherished members of the baked goods family, but also, one the most feared by cooks —even the most experienced—, but the truth is, there are only two things they require from you: time and patience.
When I say “perfectly achievable” in the title, it can mean different things for different people, and under different circumstances. It all starts with what tools you have available and then making the best out of them. Don’t ask too much of yourself, it doesn’t matter if you don’t get them right the first time: relax, have fun, put your favorite playlist on (one that you can dance to is advisable since you’re going to be standing up for a pretty long time). It is a mindfulness experience. Take it as occupational therapy.
There are different scenarios in viennoiserie making, I’ve cooked in both the best and worst of circumstances; the best-case being, having all basic tools plus professional equipment: a stand mixer, walk-in refrigeration, a proofer, a dough sheeter, and a full-size rotary convection oven; the worst one including a knife, a tray, a rolling pin (which can actually be easily substituted for an empty bottle), and a crappy home oven with a fickle temperature that most of the time ends-up burns things before it actually cooks them.
Ok, so probably, you won’t get perfect lamination in the second scenario. Or who knows? None of the aforementioned equipment existed when croissants were invented; bakers perfected themselves through practice. What is completely possible is that you achieve something that you can feel proud of.
*The pictures below show the difference between the “best-case scenario” (left) and what has been possible on the “worst one” (right); if you can see, the lamination is not as perfect in the second one, but it’s pretty decent.

The idea in this first series of weekly installments (delivered free to your mail every Saturday if you press “subscribe” at the end of this post) is to make different types of viennoiserie with the same technique. First, we did rollos de guayaba and now we are doing my two favorite kinds of croissants: plain and ham & cheese. So for this post and the next ones, I’m parting from the steps of the shaping. For the complete recipe, go back to the first newsletter. Nonetheless, here are a few extra recommendations (*actually, I’ve made some little adjustments to the dough recipe since last time, and that might keep happening every now and then, not because it’s not ok, but because there’s always room for improvement)…
1. I already said this on the last post, but I’ll emphasize: all of the ingredients have to be at room temperature before you start mixing the dough. If they are too cold, it is more difficult for the fermentation process to develop. If you need to, you can heat the milk and water a little, but just to room temperature, no more than 32º/90ºF.
2. The butter that goes in the dough has to be soft but not melted. The one for the lamination, on the other hand, has to be firm when you make the block or it will start melting fast. Use the best possible butter you can find; you need a combination of good plasticity (meaning that it can stay soft and malleable for a while before melting) and good taste. Use only 100% cow milk butter. The higher the level of fat, the better. The thing is that in Mexico, most brands don’t detail the percentage of fat vs. water; there are two that do and are work very well for bakery; the first one is on is the French brand President, it’s not the cheapest but as far as what is available in most supermarkets is it’s the best; Kirkland, the brand sold at Costco is also very good to work with, and the third one I use, that even though it doesn’t detail the level of fat I think it has both fair flavor and good plasticity is the Mexican brand Alpura (plus it’s the cheapest).
3. If you see on the video I made for the previous post, I keep the water at the end because you might not need it all, not only because some places are more humid than others, also because some kinds of flour absorb more moisture then others. The consistency of the dough when everything is incorporated, but you really haven’t started kneading yet, must be very soft and sticky but not too wet.
4. You have to knead the dough until it’s elastic, still soft, but doesn’t stick to the surface (or bowl in the case of the stand mixer version) anymore: around 5 to 10 minutes when kneading by hand, and from around 3 to 6 minutes when doing it on the mixer. Refrain from kneading too much because if you over-work the dough, it can develop resistance, it can get very tense and difficult to roll.
5. After kneading, let the dough rest enough time for it to double its size, which can take anywhere from 30 minutes to 2 hours. I’m no scientist, but what I’ve learned from experience —in terms of the meteorological conditions of Mexico City—, that even though we have a tempered climate and it rains a lot (which not always means it’s especially humid, it can get really dry at times), it takes a very long time for leavened-doughs, in general, to rise. I guess it has also something to do with altitude and pressure. So, if you are cooking in the same conditions I am, also remember when you do the last rise (with the pieces already shaped), to extend the resting time enough to let the pieces proof properly. This step is indispensable for your croissants (or whatever shape you’re making) to turn out fluffy. The trick to know when they are ready is when you shake the tray and the pieces make a gelatinous movement. It’s taken me up to 3:30 hours for that to happen, so be patient. Keep the tray in a warm and cozy place. I use an aluminum tray (like the ones you use for turkey) up-side-down, to cover the pieces so they don’t dry on the surface, but you can also keep them inside of the oven and take them out 15 minutes before you pre-heat it.
6. If you watch the pictures of the foldings on the previous post, there are some bubbles on the dough, that’s normal, you can pinch them with a pin. You can also use a brush to get rid of the excess flour when you roll the dough. Try to keep it as clean as possible because it can create airbags. If the dough gets too soft, you can always put it back in the freezer to relax for a few minutes. There are recipes where the resting between folds is indicated in the refrigerator, but in my experience, I’ve found that it relaxes better if I leave it in the freezer for 20 minutes.
PLAIN CROISSANTS
(Makes 12 pieces)
Ingredients:
Layered-fermented dough (go to recipe)
Egg wash to coat
Equipment:
A regular size tray
A knife
A pastry cutter *Not indespensable, you can use the knife
A coating brush
Something to measure with
A brush for coating
Parchment paper
PREPARATION
Cut the laminated dough in half, to work in two batches.
Lightly cover the working surface with flour, and also a little over the dough.
Roll the dough into a rectangle of approximately 60 x 20 centimeters (leave a little extra to cut the edges).
Cut the rectangle around the edges to open the seams (this will allow the layering to open and the croissants to inflate).
Divide the dough into three rectangles of 10 x 20 cm.
Cut the rectangles in diagonals to make the triangles.
Here’s a video on how to…
Cover the tray with parchment paper.
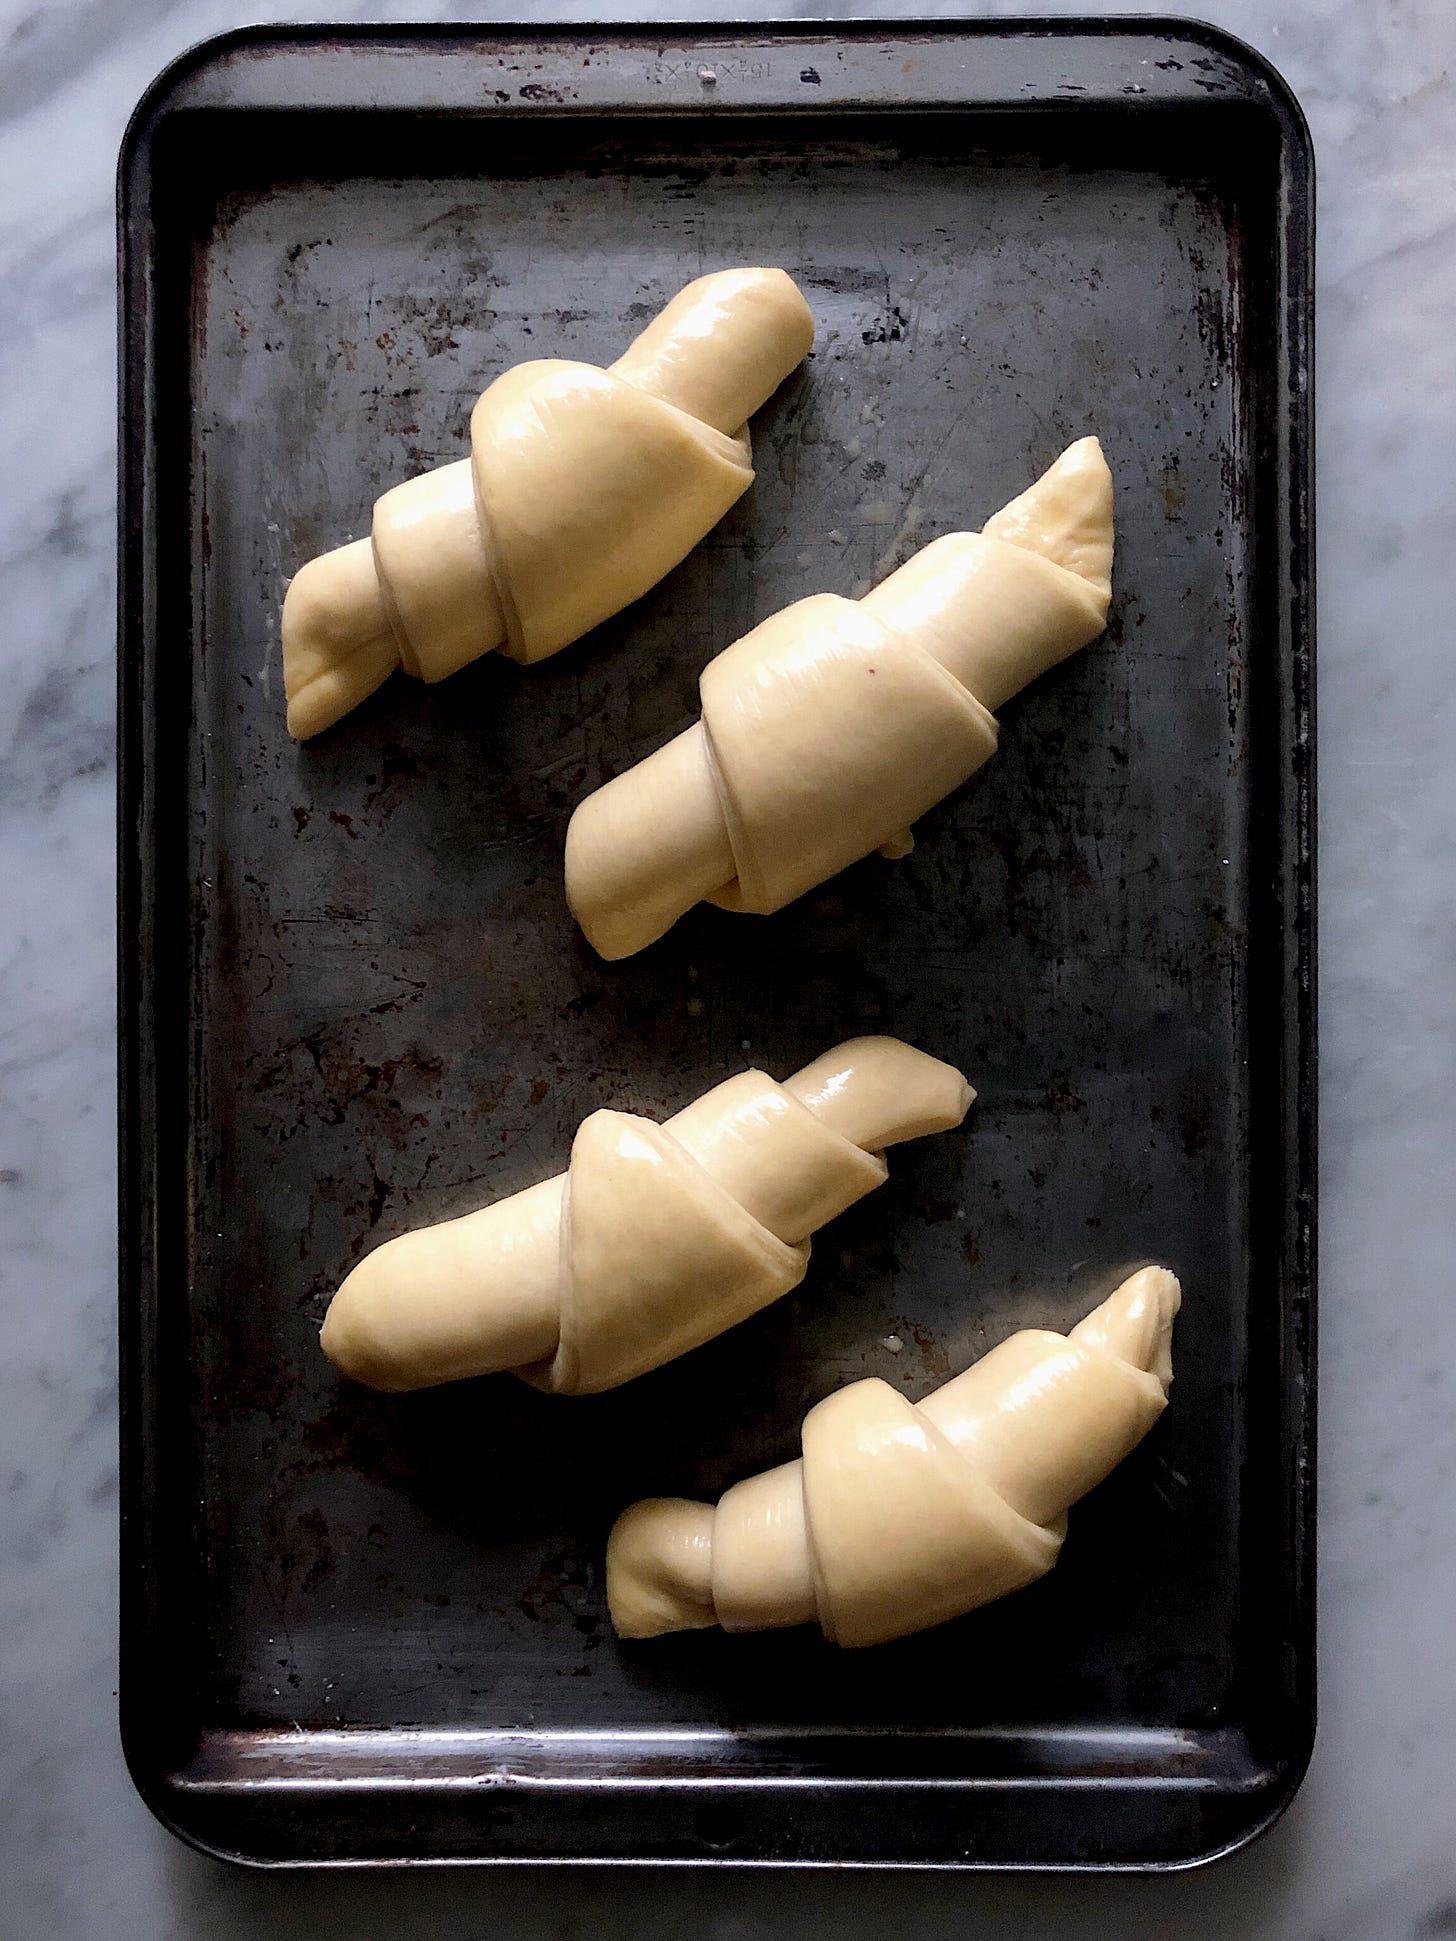
Softly roll the triangles from the base to the tip with the palm of your hand, only applying little force at the beginning and as you pull the end so that it rests under the croissant so it doesn’t open when it proofs.

Position the croissants on the tray, and let rest on a warm and cozy place until the proof completely (as I said, it can take anywhere from 1 up to a little more than three hours).
Pre-heat the oven at around 180*C/ 380*F.
Coat the croissants with the egg wash, be careful not to cover the seams with the egg, so that the croissants can inflate.
Bake for around 16 to 18 minutes, or until the surface of the croissants turns golden.
Eat while still hot (but not too much) accompanied with your favorite hot beverage.

HAM & CHEESE CROISSANT
(Also makes 12 pieces if you use the whole dough)
INGREDIENTS
Ham (or any other cold cut you like)
Cheese (also your choice)
*Chopped jalapeños *Optional
PREPARATION
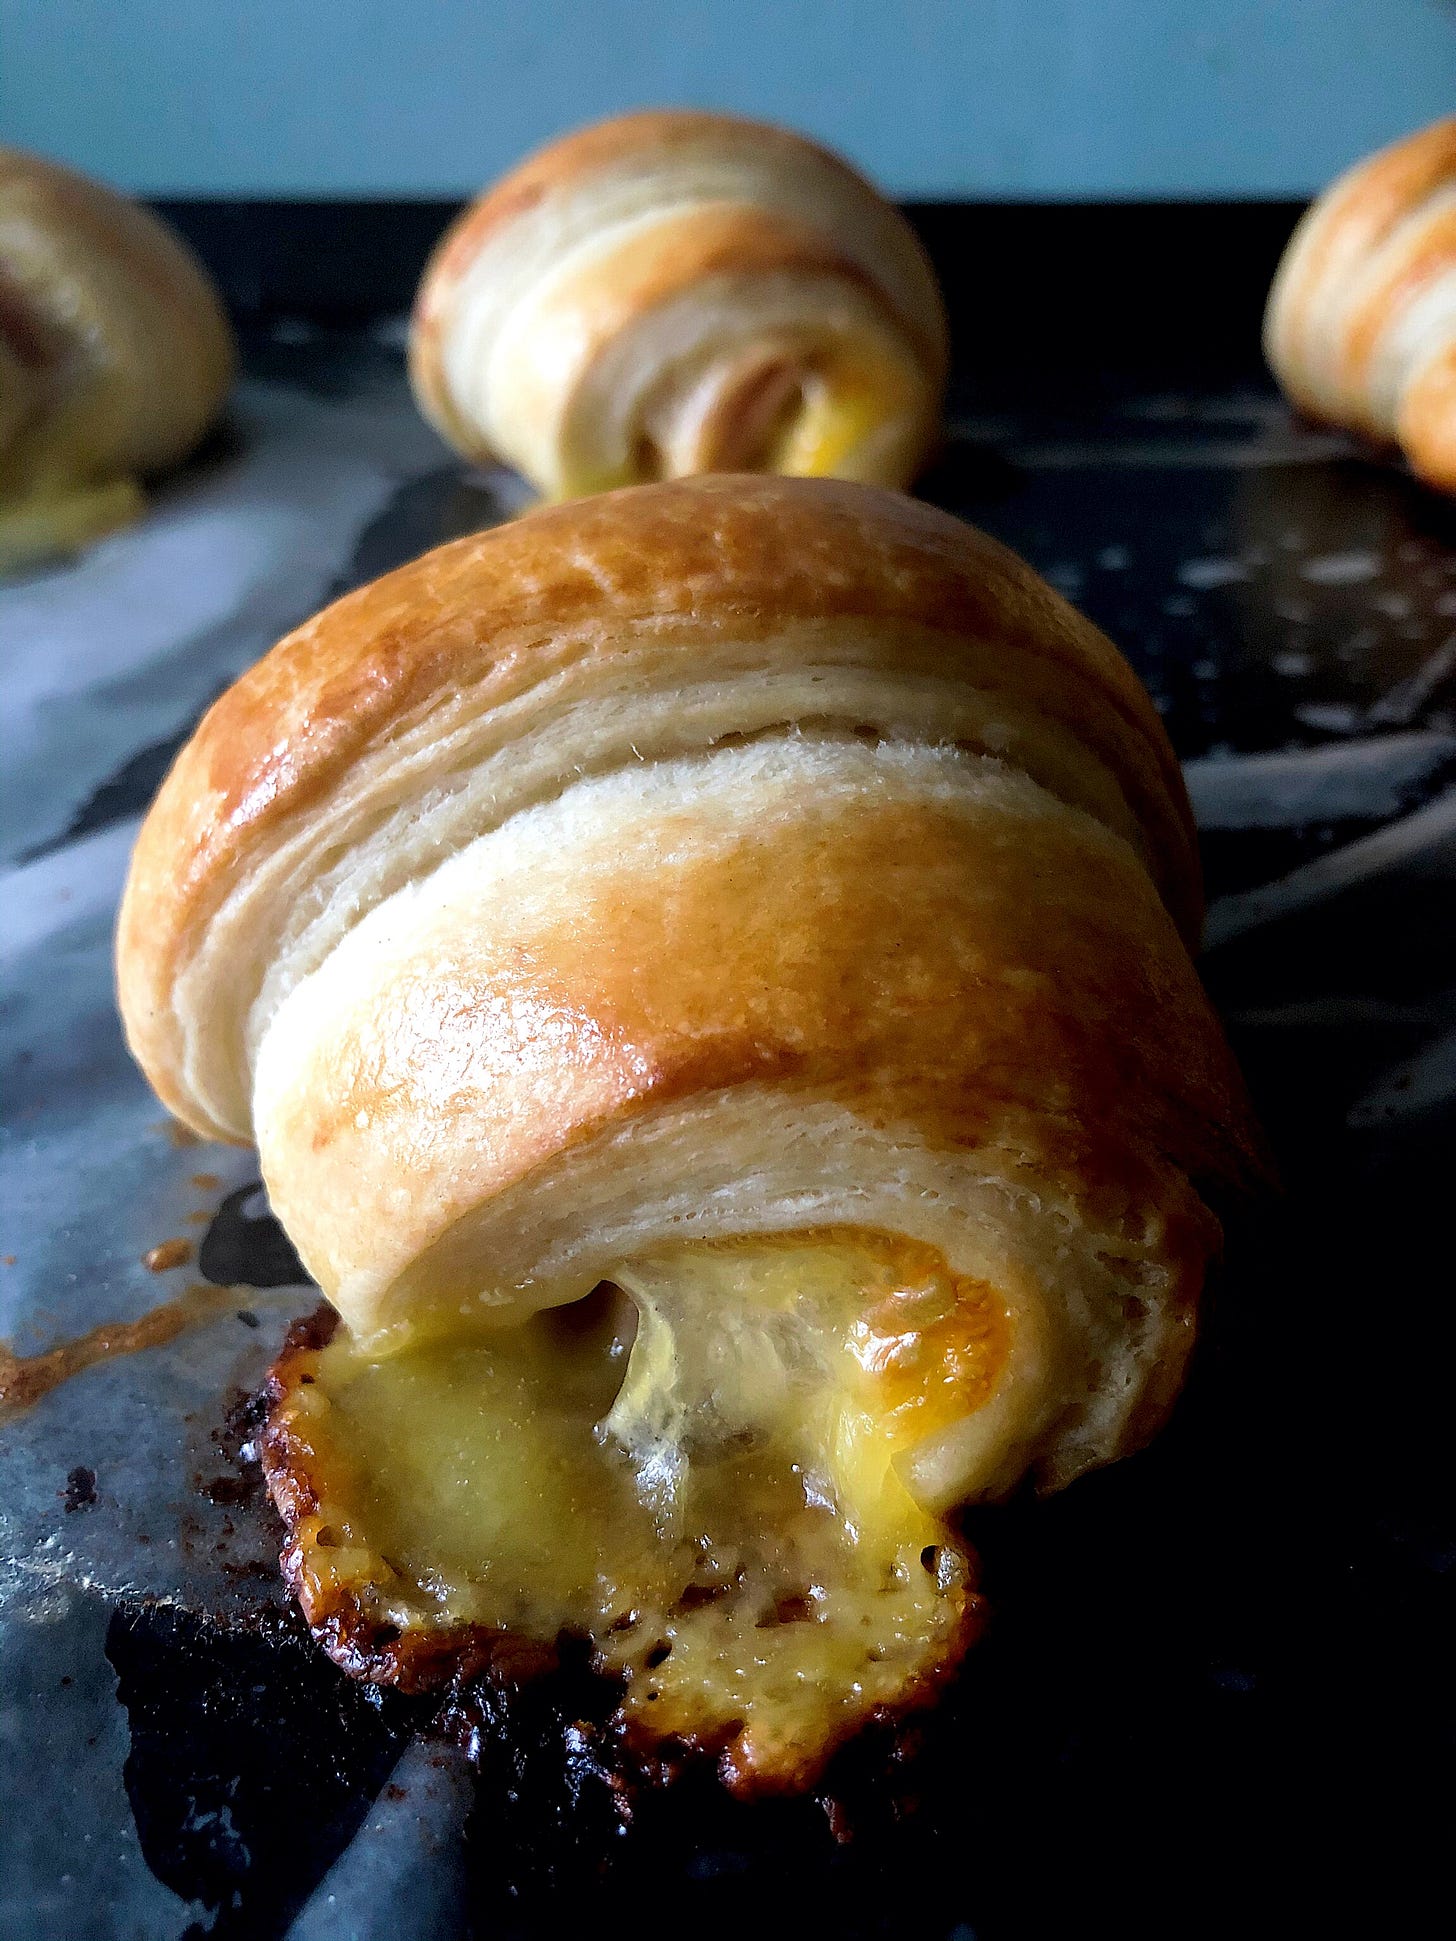
Follow the same steps to do the croissants, but when you’re about to roll them, put a slice of ham and cheese inside (also a few jalapeños if you’re using them), and then roll the croissant and follow the rest of the steps as indicated.
Eat it while the cheese is still melted!


